
Pintrest - I'm pretty sure I have a love/hate relationship with it, but mostly a love. I love all the ideas I get from it, but I hate that I either don't have the time, money, or talent to get some of the things, money being the biggest issue. This fall when I moved to my new apartment I decided I really wanted something fresh and new, and completely different than my previous college bedrooms. Enter Pintrest. Pintrest was literally the inspiration for almost everything I did in my room. The first thing I decided on was to do a frame wall. I saw this on Pintrest and really wanted to do a more grown up version of it.
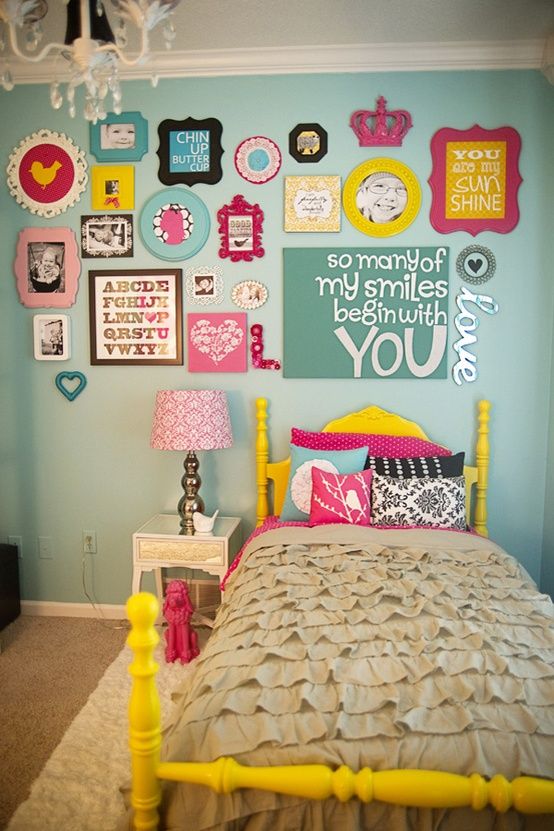
As anyone knows, picture frames aren't cheap. The only way I even consider buying one at Hobby Lobby or Michael's is if it's 50% off. After narrowing my color scheme down to teal, yellow, and gray I set off on a hunt for picture frames.
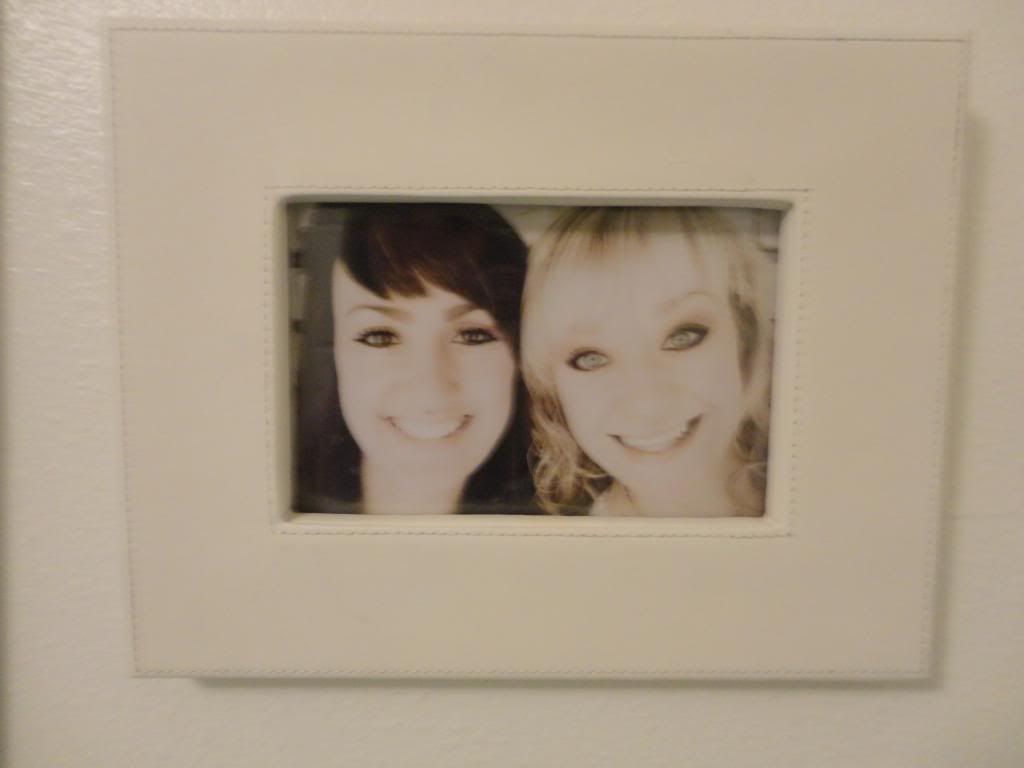
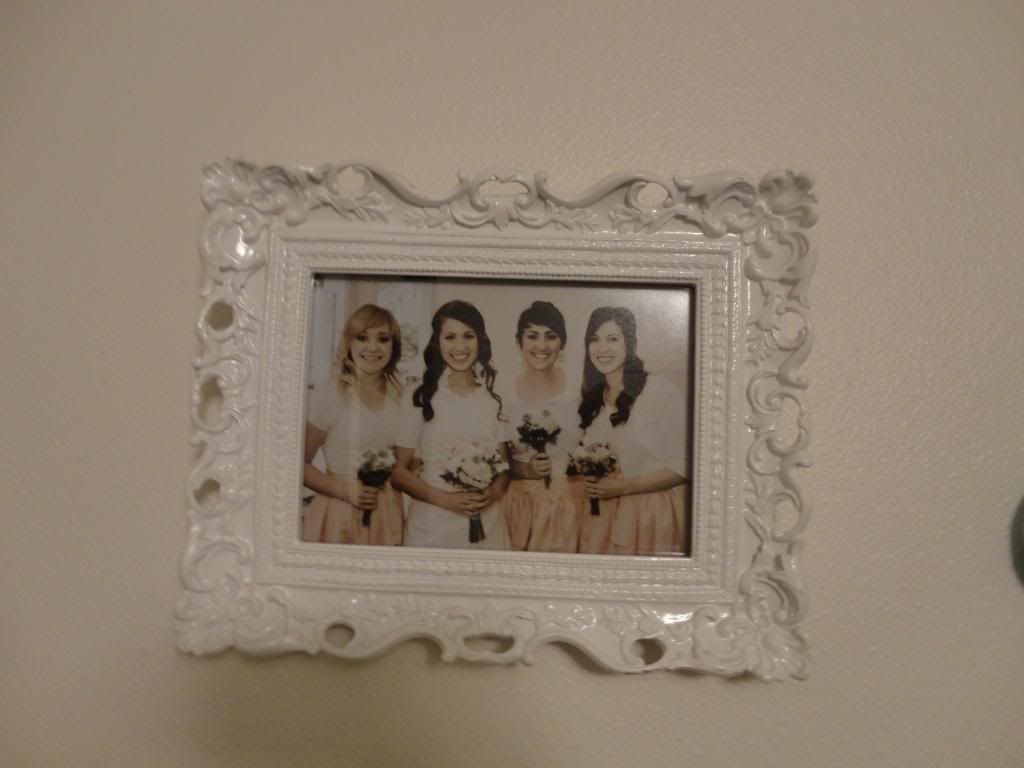
I already had this frame given to me
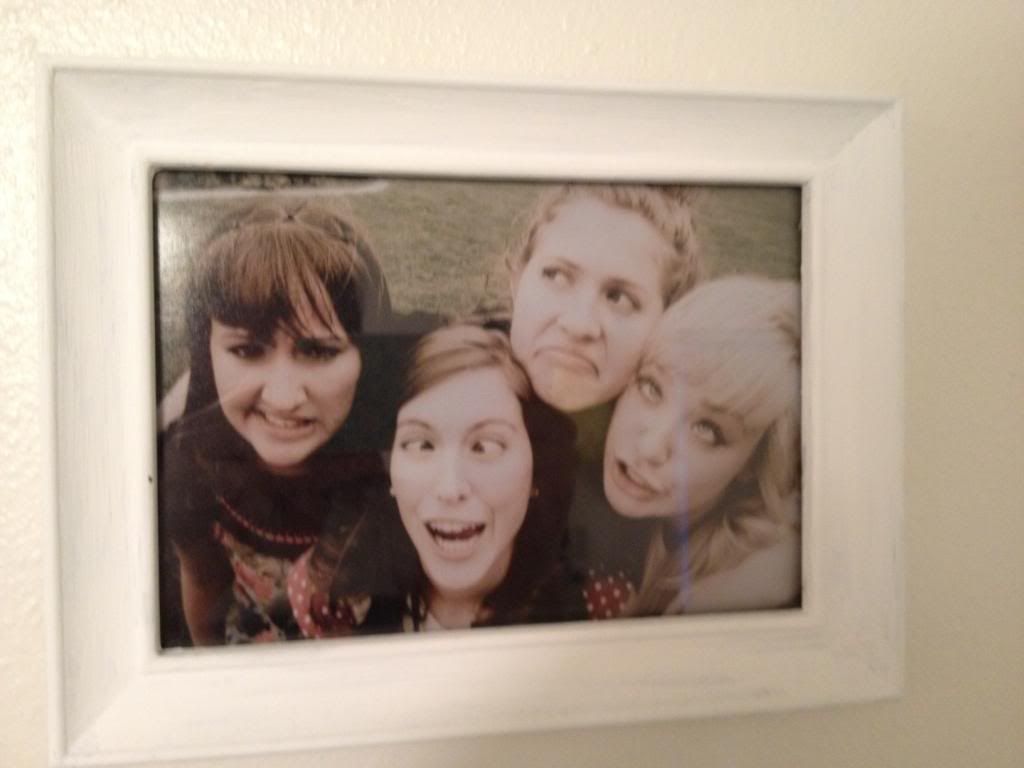
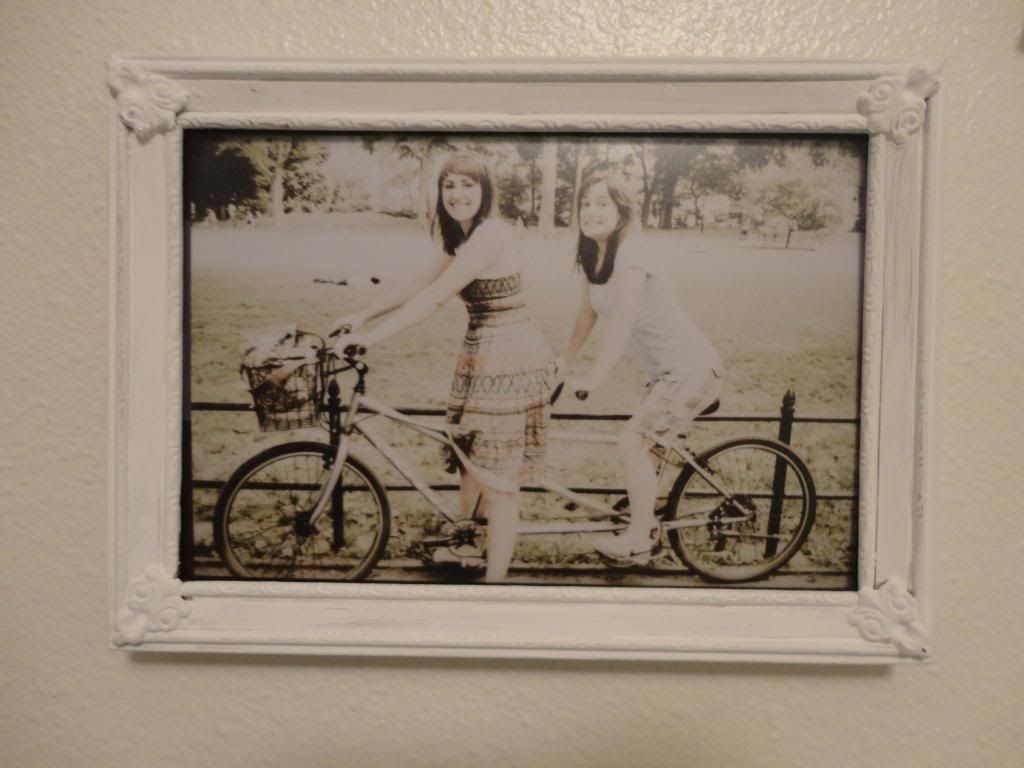
Along with this one - I just painted it white
My first stop was Michael's paint your own frames. I got this for $1. All I had to do was paint it.
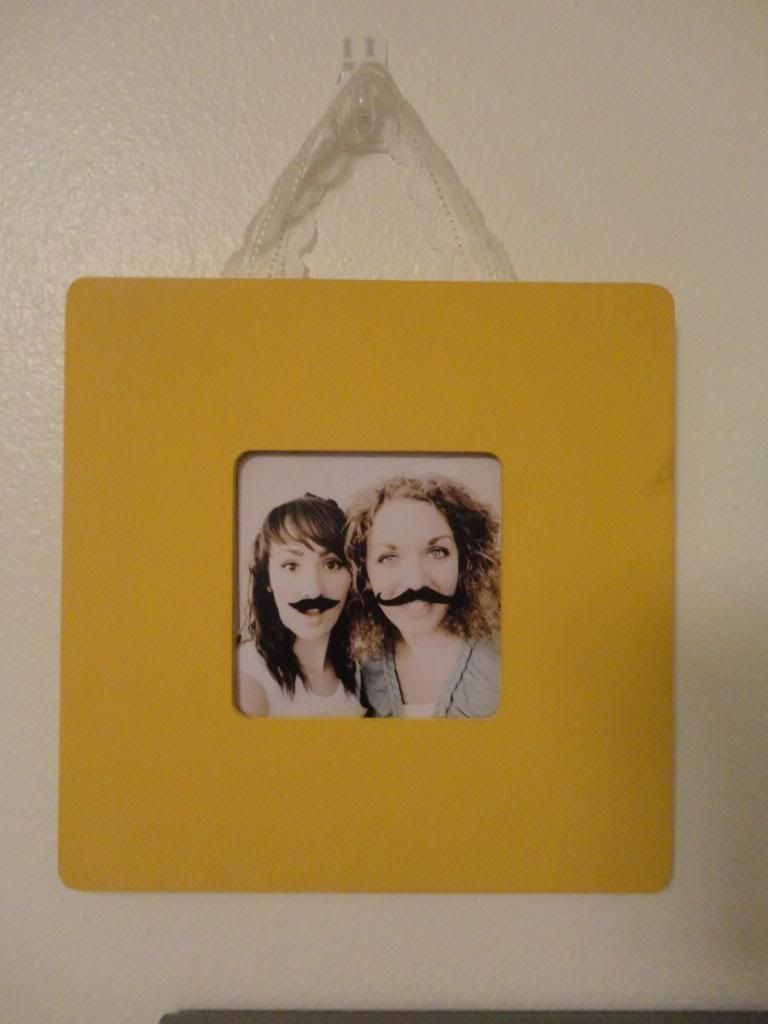
This square frame was also $1 at Michael's, and I added a strip of lace to spice it up a little.
I was really excited when I saw this paint your own frame at Michael's. It was more expensive at $3.99, but definitely worth it. I used my Cricket to cut out the letters and it turned out super cute.
I then decided to hunt through my Parent's basement and see what they had as far as frames. I found these two frames just waiting to be used. 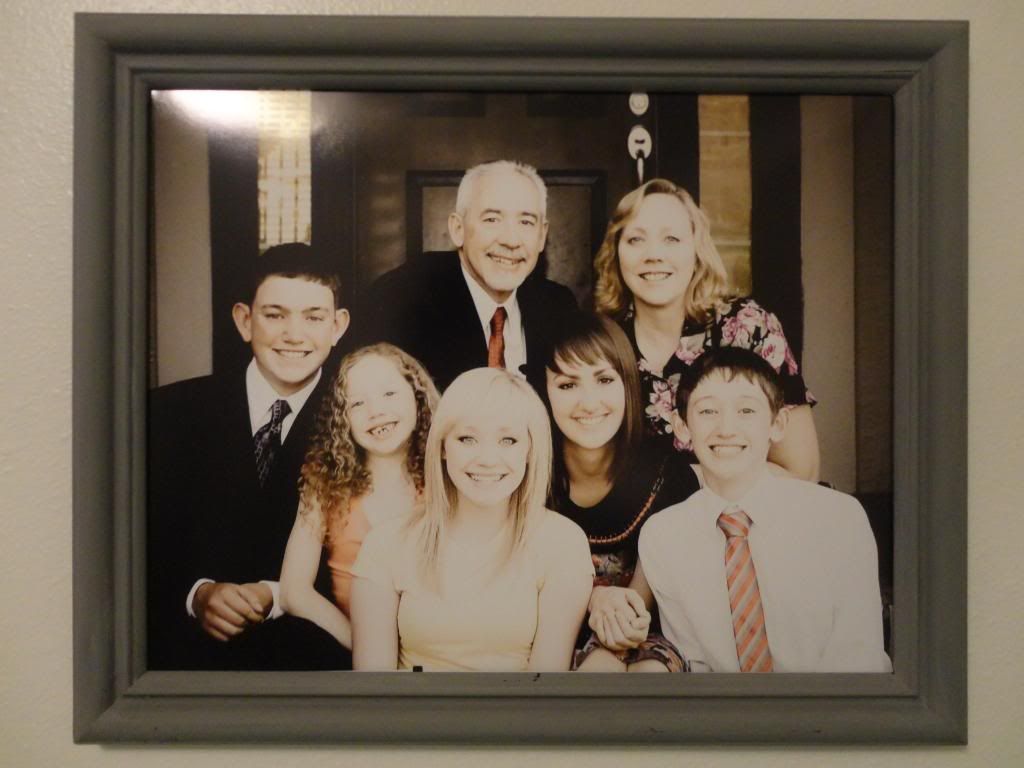
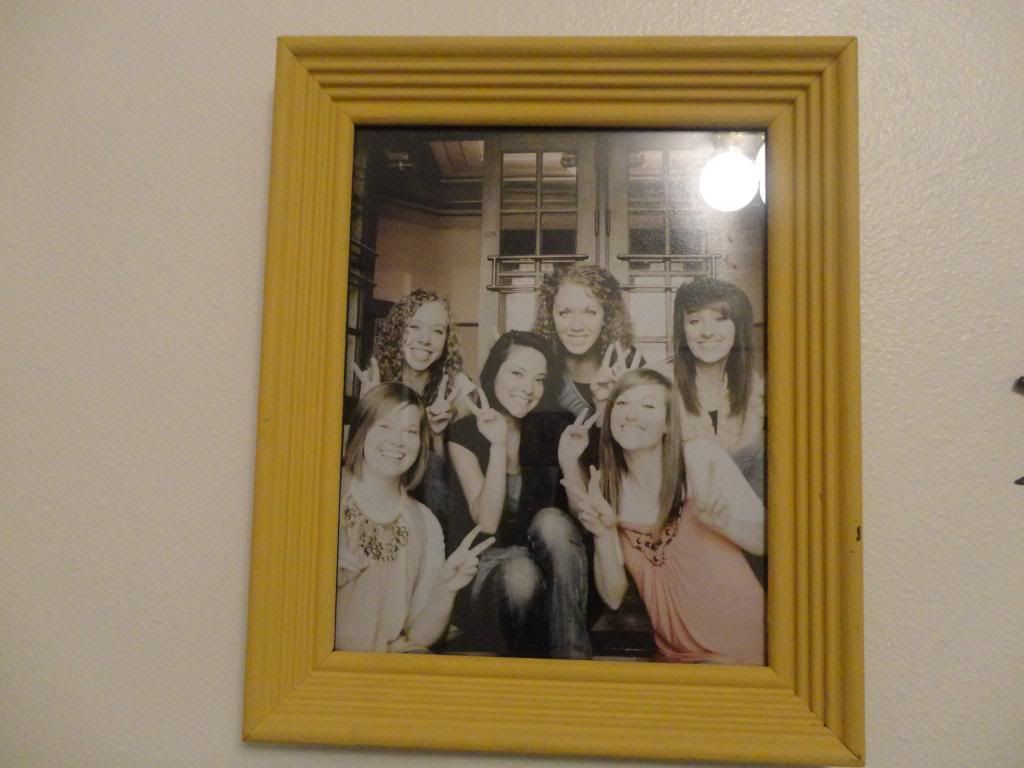
If you don't have any frames hanging around the DI or any thrift store is a great place to find cheap frames. Most of them will be an ugly wood color, but a little craft paint goes a long way. These were both an ugly brown color and look how cute they are now.
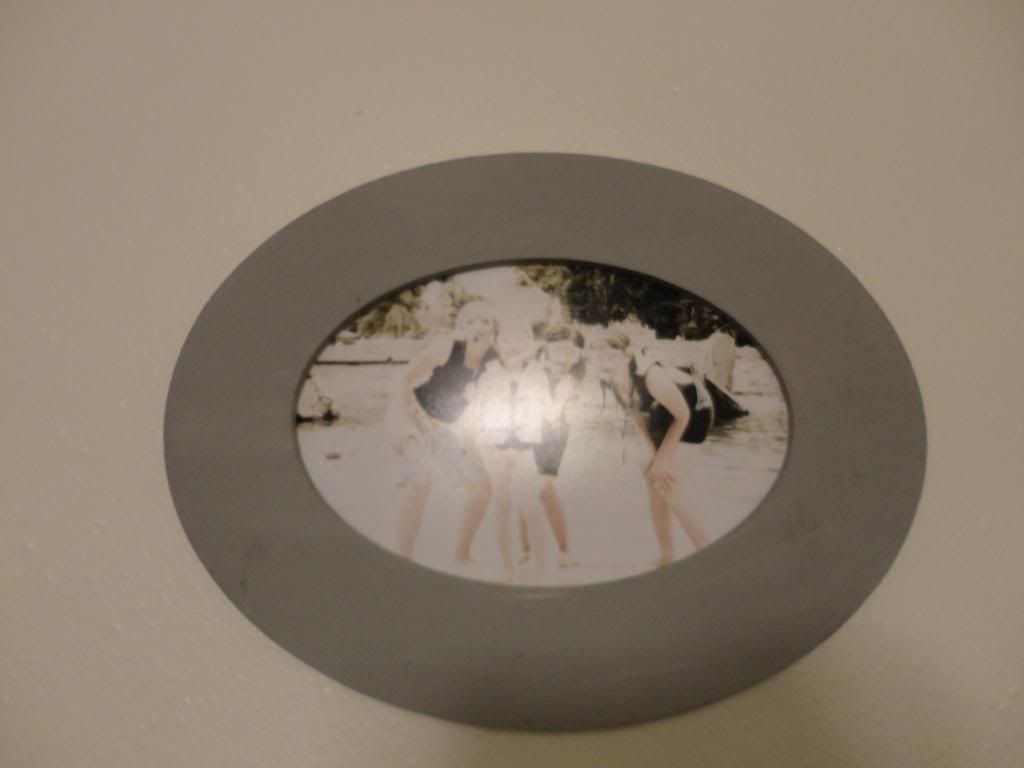
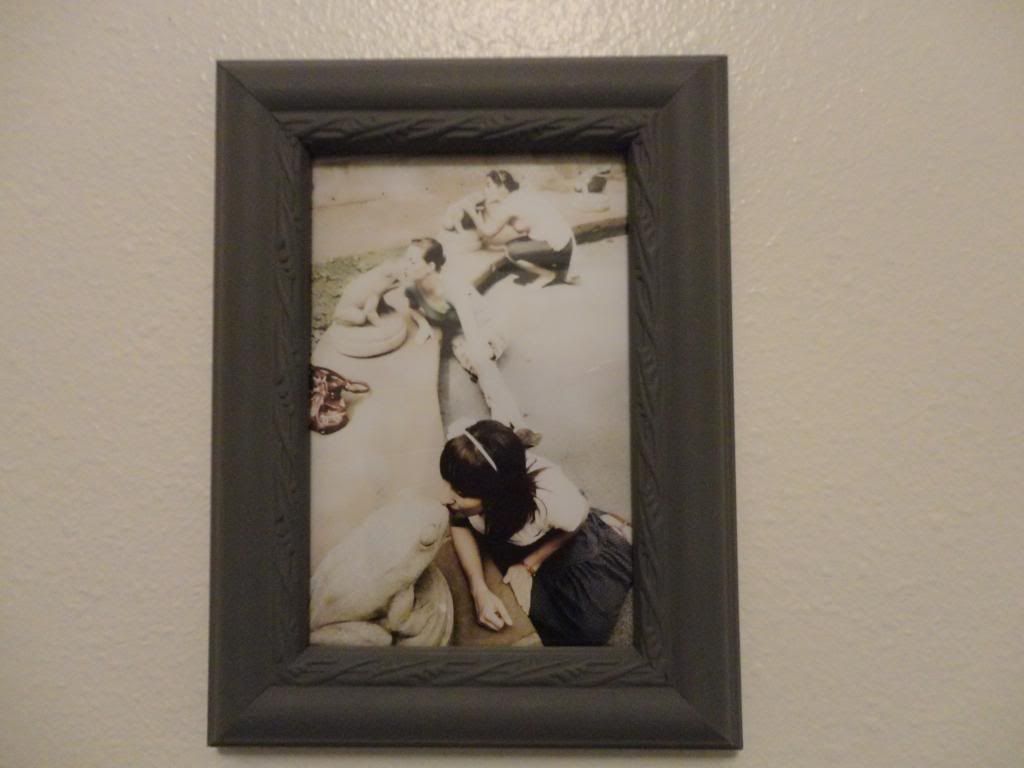
My next stop was the DI. You would never know it but this cute gray frame used to be an exciting leopard print. I think I'm quite partial to the gray. Price: $1.50
I also got this little frame at the DI for $2
I loved both of these frames because they were different from the others I already had. These two definitely gave me the most stress when painting. The gray one is plastic and the white is metal, which is much more difficult to paint that wood. It took about five coats, but it eventually turned out. Note to self: always get wood frames.
The last place I got frames was Hobby Lobby. I love Hobby Lobby's stuff, but it does tend to be pricier unless you use a coupon or get it on sale. This adorable white frame was $19.95 but I got it for 50% off. Definitely pricier than the others, but I figured it was worth it because it was so cute.
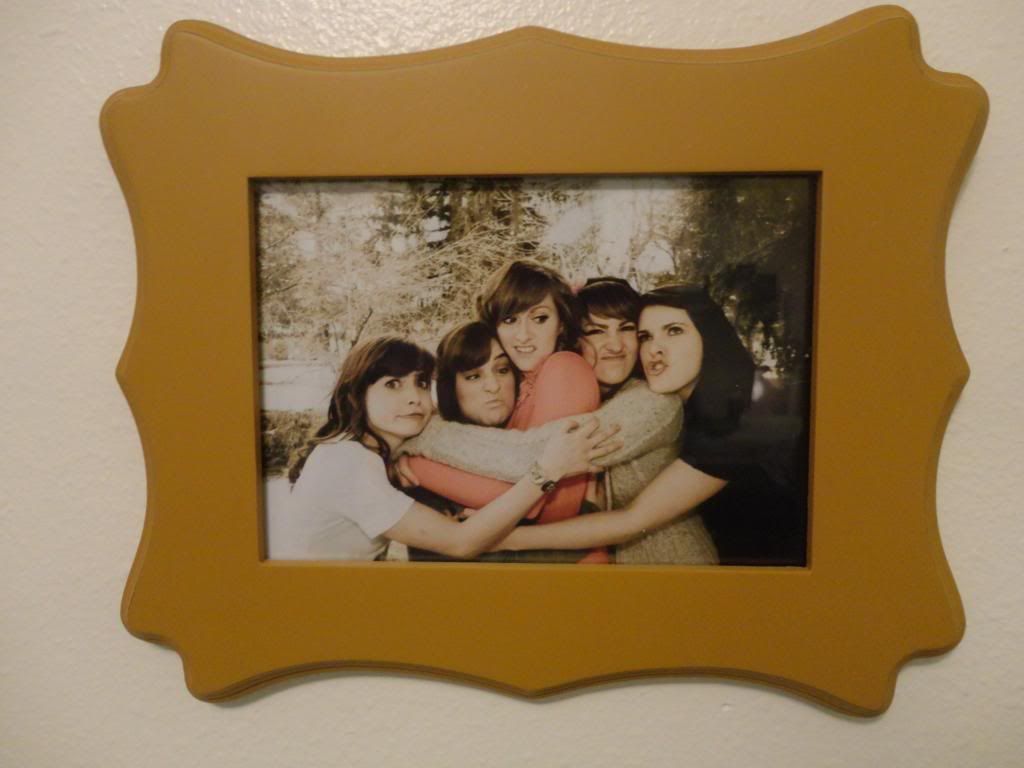
This is the other frame I got at Hobby Lobby. It was also 50% off, so $7.50 wasn't nearly as bad as the list price of $14.99
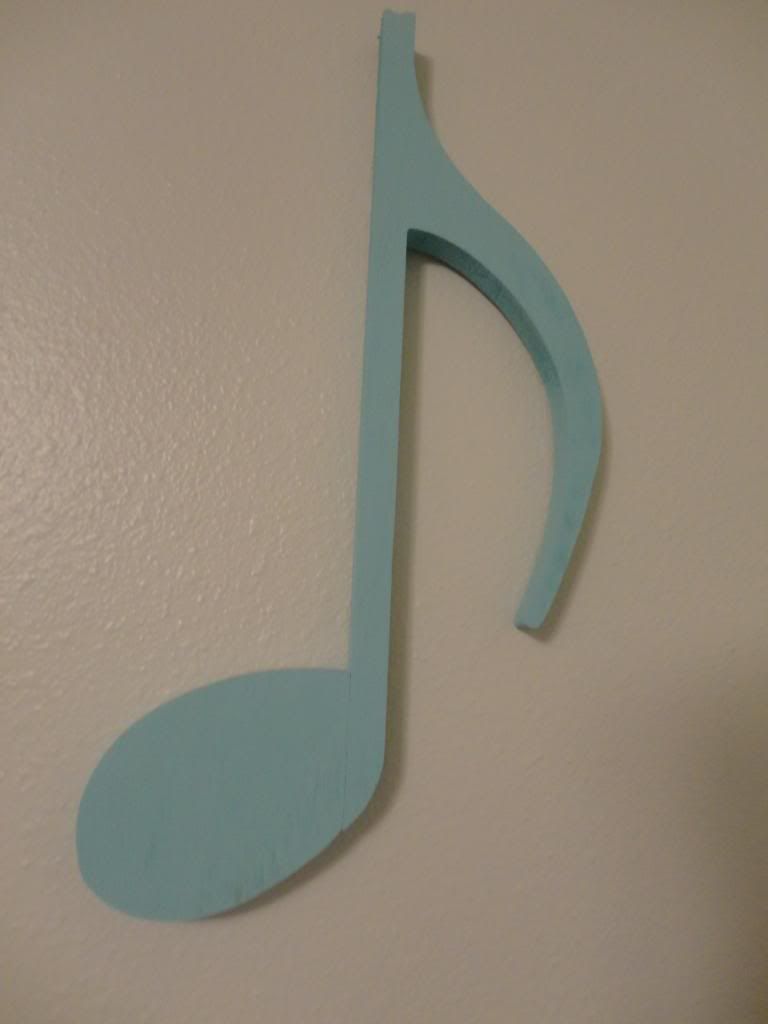
On the wall I decided I wanted more than just frames. What else to put up? Well, I wasn't too sure. I ended up wandering around Hobby Lobby about three different times looking for random things to put on the wall. This was the hardest part because I wasn't looking for anything specific. I ended up with this music note that I painted. Price: $1.99
And this M - $2.99. Both were originally natural wood painted with craft paint.

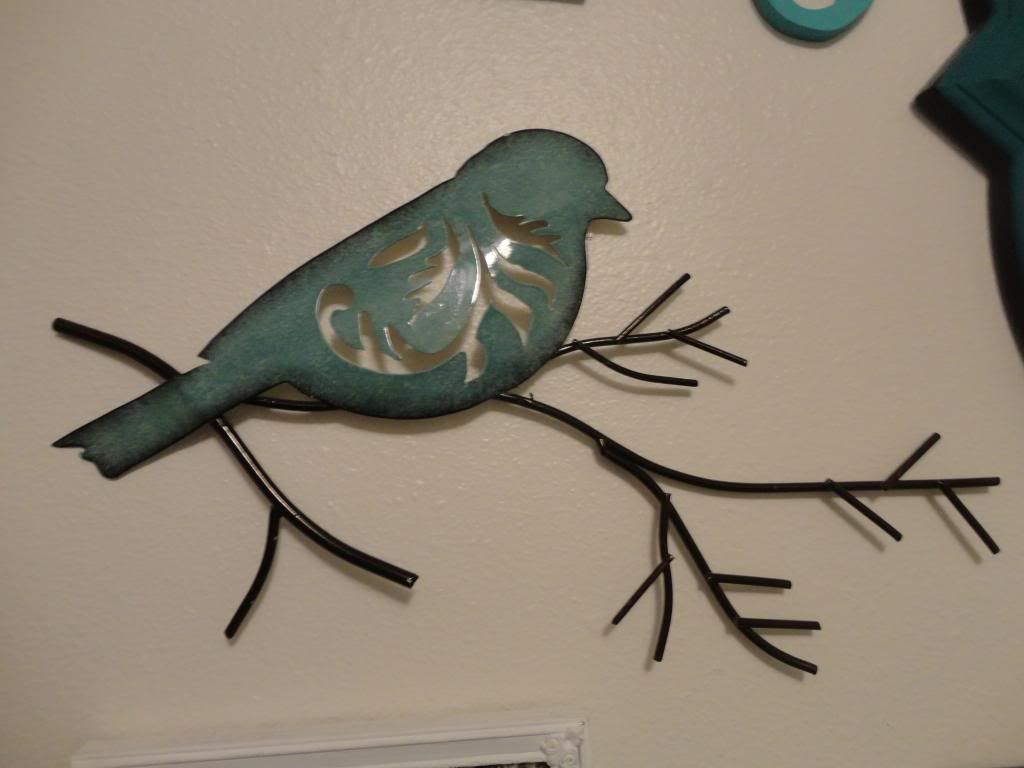
One of my favorite things I got at Hobby Lobby I found during one of my random wandering trips through the aisles. I found this metal bird for $6.50 (at 50% off). I love it because it's different but not too weird, and it was the perfect color.
I knew I also wanted a quote on my wall, and decided to go with 'You are my Sunshine'. I had my mom make and print a small 11x14 poster on an online Publishing company called Heritage Makers. I originally wanted to make a wood one, but since I'm not allowed to put holes in my walls the wood I wanted was a bit too heavy. When I got the poster in the mail I trimmed it and glued it onto a foam board. Total cost: $5.50

Once I had all these things I knew I needed some sort of center piece. After much deliberation I decided on a mirror. I randomly found this one at Walmart for $14.99. It was originally black but after five coats of paint (it's plastic) the teal makes it look much better.

To make sure all my colors went together I picket out four colors of craft paint - a yellow, gray, white, and teal. To add variety to the colors I just added white to make some of them lighter. That way they were all in the same color family and wouldn't clash with each other.
Because I live in an apartment I'm not allowed to put holes in my walls. This makes decorating a bit of a pain. Luckily someone invented command hooks that are Velcro strips. These hold the frames to the wall and pull off without leaving a mark - it's like magic!
After re-arranging the frames 12 different times I finally decided on a layout for the wall. I started with the mirror and worked around it. I'm a bit in love with how it turned out.
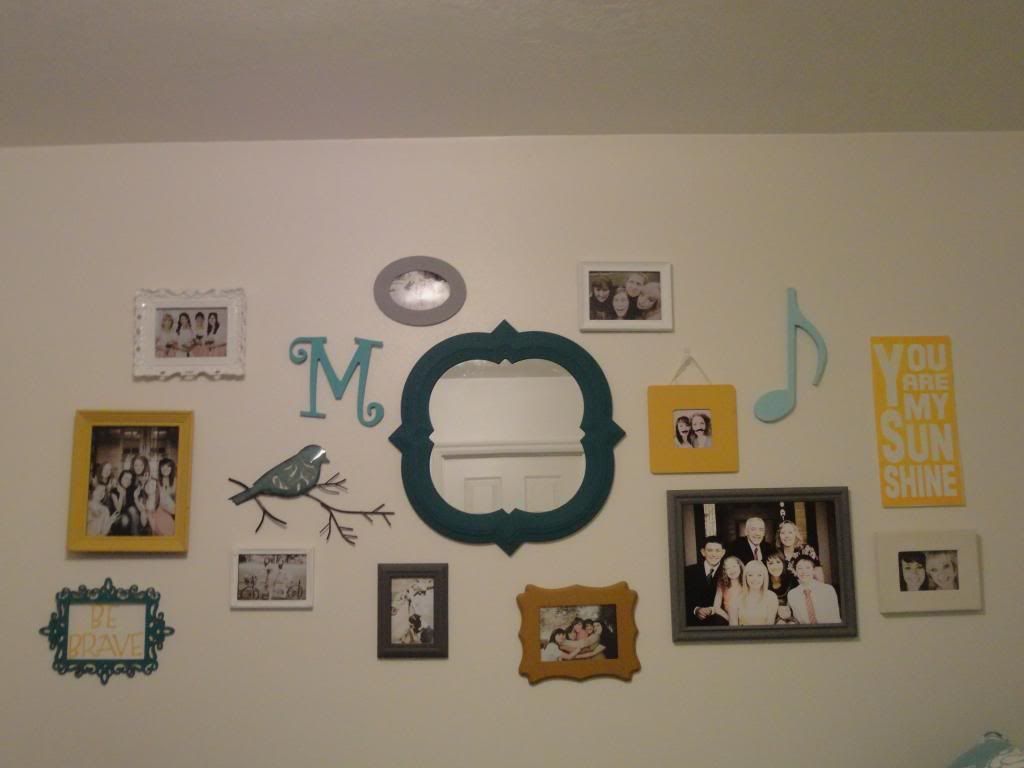
Total cost for the frame wall: $65
For those who don't want to spend that much you don't have to splurge on the two frames from Hobby Lobby like I did :)
Because this post is ridiculously long I'll save the rest of the room for the next post.
No comments:
Post a Comment